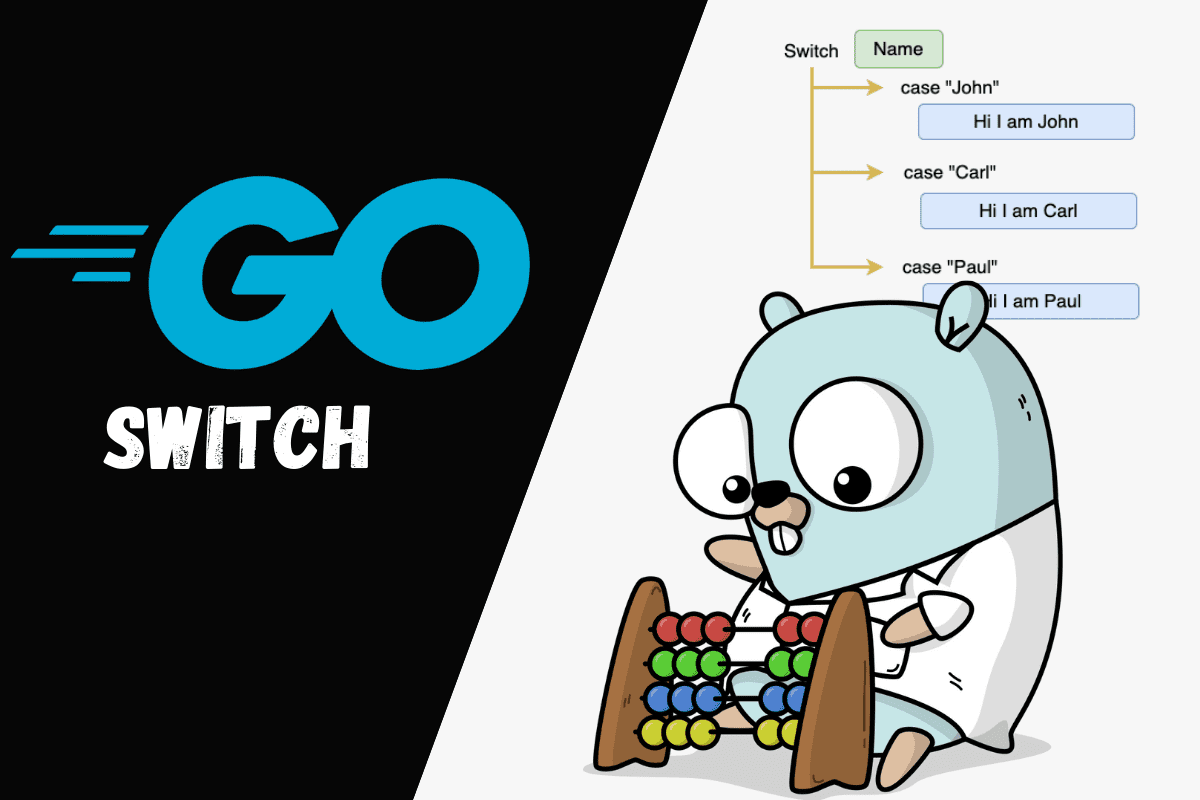
Discover the incredible power of the switch statement in Golang – a game-changer in decision-making for your code. Unlike the sometimes clunky if-else statements, Go’s switch offers a cleaner and more straightforward way to handle conditions.
In this exploration of Golang switch case, we’ll break down the switch statement, using real-world examples to illustrate its efficiency. Say farewell to the complexities of if-else blocks and welcome a more concise syntax that turns your code into a masterpiece.
This journey isn’t just about making decisions – it’s about making them with finesse. Learn how the switch statement becomes your ally, providing an elegant solution for handling diverse scenarios in your code. It’s not just about control flow; it’s about enhancing your coding experience.
Join us as we navigate the world of Go, unveiling the secrets of the switch statement and empowering you to harness its capabilities. Your coding landscape is on the brink of transformation – are you ready to revolutionize your approach with the unparalleled simplicity and effectiveness of Go’s switch statement? Dive in and let your code do the talking.
Basic Golang Switch Case Statement

The basic syntax of the switch statement looks like this:
package main

import "fmt"

func main() {
    // Example 1
    day := "Monday"

    switch day {
    case "Monday":
        fmt.Println("It's Monday!")
    case "Tuesday":
        fmt.Println("It's Tuesday!")
    case "Wednesday":
        fmt.Println("It's Wednesday!")
    default:
        fmt.Println("It's some other day.")
    }

    // Example 2
    number := 42

    switch {
    case number < 0:
        fmt.Println("Negative number")
    case number == 0:
        fmt.Println("Zero")
    case number > 0:
        fmt.Println("Positive number")
    }
}
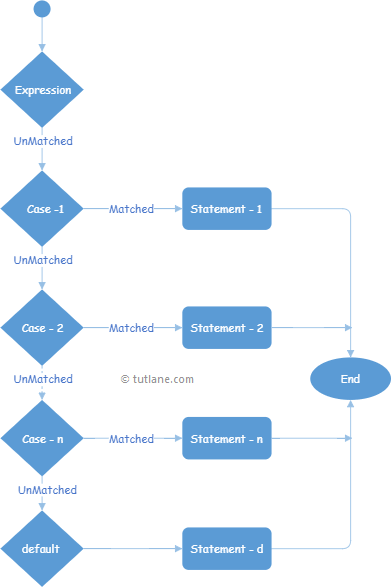
In the first example of golang switch case, the switch statement is used to check the value of the day variable. If day matches any of the cases, the corresponding block of code is executed. If none of the cases match, the code inside the default block is executed.
In the second example, the switch statement is used without an expression. Instead, it checks conditions within each case. The first case that evaluates to true executes its corresponding block. If no condition is true, the code inside the default block (if present) is executed.
Fallthrough in Switch
Go’s switch statement does not automatically fall through to the next case. However, you can explicitly use the fallthrough keyword to achieve this behavior:
package main

import "fmt"

func main() {
    number := 2

    switch number {
    case 1:
        fmt.Println("One")
        fallthrough
    case 2:
        fmt.Println("Two")
        fallthrough
    case 3:
        fmt.Println("Three")
        // fallthrough // Uncommenting this line will fall through to the next case
    default:
        fmt.Println("Some other number")
    }
}
In this example, when number is 2, the fallthrough keyword is used after the Two case. This causes the execution to fall through to the next case (Three). Without the fallthrough statement, the switch statement would exit after executing the matching case.
Type Switch
Go’s switch statement can also be used for type-switching. It allows you to check the type of an interface variable:
package main

import "fmt"

func checkType(x interface{}) {
    switch x.(type) {
    case int:
        fmt.Println("x is an integer")
    case string:
        fmt.Println("x is a string")
    default:
        fmt.Println("x is of unknown type")
    }
}

func main() {
    checkType(42)
    checkType("Hello")
    checkType(3.14)
}
In this example of golang switch case, the checkType function uses a type switch to determine the type of the argument x. The case statements check if x is an int or a string, and the default case handles any other type.
The switch statement in Go is a versatile tool for making decisions based on the value or type of an expression. Whether you’re comparing values, handling multiple conditions, or checking types, the switch statement provides a clean and efficient syntax for expressing decision logic.
Choosing Between switch and if-else in Go

The choice between using a switch statement and a series of if-else statements in Go depends on the specific requirements and readability of the code. Both constructs are used for making decisions based on conditions, but they have different use cases and characteristics.
switch Statement:
-
Clear and Concise for Multiple Conditions:
switchis particularly suitable when there are multiple conditions to check against a single value.- It provides a clean and concise syntax, especially when comparing a value against multiple possible values.
-
Easier to Read and Maintain:
switchstatements are often easier to read and maintain when there are several possible cases.- The structure of a
switchstatement can make the code more organized and comprehensible.
-
Type Switching:
switchstatements can be used for type-switching when checking the type of an interface variable.
-
Fallthrough:
switchallows the use offallthroughto execute the next case after a match. This can be useful in certain scenarios.
Example of a switch statement:
package main

import "fmt"

func main() {
    day := "Monday"

    switch day {
    case "Monday":
        fmt.Println("It's Monday!")
    case "Tuesday":
        fmt.Println("It's Tuesday!")
    default:
        fmt.Println("It's some other day.")
    }
}
if-else Statements:
-
Flexible Conditions:
if-elsestatements are more flexible when dealing with complex conditions that might not fit well in aswitch.- They are suitable for scenarios where conditions are more dynamic or involve multiple variables.
-
Readable for Few Conditions:
- For a small number of conditions or a simple binary decision,
if-elsestatements can be more readable.
- For a small number of conditions or a simple binary decision,
-
Comparisons and Range Checks:
if-elsestatements are suitable for range checks, mathematical comparisons, and boolean conditions.
Example of if-else statements:
package main

import "fmt"

func main() {
    number := 42

    if number < 0 {
        fmt.Println("Negative number")
    } else if number == 0 {
        fmt.Println("Zero")
    } else {
        fmt.Println("Positive number")
    }
}
When to Use Each:

-
Opt for
switchin the Following Scenarios:- When dealing with multiple conditions for a single value.
- In situations where the code requires checking against numerous possible values.
- When type-switching becomes necessary.
-
Choose
if-elseunder the Following Circumstances:- When conditions are dynamic and may involve multiple variables.
- If there are only a few conditions to check.
- When conditions involve complex boolean expressions.
Considerations:
-
Readability:
- Consider the readability and clarity of the code. Choose the construct that makes the code more understandable for future readers.
-
Code Style:
- Follow the code style of your team or project. Consistency in code style enhances collaboration.
-
Specific Requirements:
- Choose the construct that best fits the specific requirements of the decision logic.
To wrap it up, when navigating the diverse landscape of decision-making in your code, both switch and if-else statements offer unique strengths. The selection between them hinges on the intricacy of your conditions and your code’s readability objectives. Opt for the switch statement when aiming for clarity and conciseness with value-based conditions. On the flip side, embrace the flexibility of if-else when dealing with more intricate or adaptable conditions.
Have thoughts to share on your preference or experiences with these constructs? We’d love to hear from you! Drop a comment below and let’s continue the conversation. Your insights could be the key to helping fellow developers make informed decisions in their coding journeys.


