Building a React CRUD App with Appwrite


Hello Developers, Today I will talk about how to create the CRUD application using React, Tailwind CSS and Appwrite.
What is Appwrite?
Appwrite is a secure end-to-end backend server for Web, Mobile, and Flutter developers that is packaged as a set of Docker containers for easy deployment. Provides developers with a uniform set of prefabricated APIs and tools for implementing most backend tasks, allowing them to focus on the frontend or business logic of their application.
Why Use Appwrite?
- Ease of Use: Simplifies backend development with pre-built APIs and tools.
- Flexibility: Works with various frontend technologies and frameworks.
- Scalability: Designed to scale with your application as it grows.
- Security: Provides robust security features out of the box.
- Community and Support: Active community and extensive documentation for support.
You can follow the following quick start guide to start using the appwrite – https://appwrite.io/docs/references/quick-start
Getting Started with CRUD Application
Below is a step-by-step guide to create a CRUD application using Vite, React, TypeScript, Tailwind CSS, and Appwrite.
1. Set Up the Project
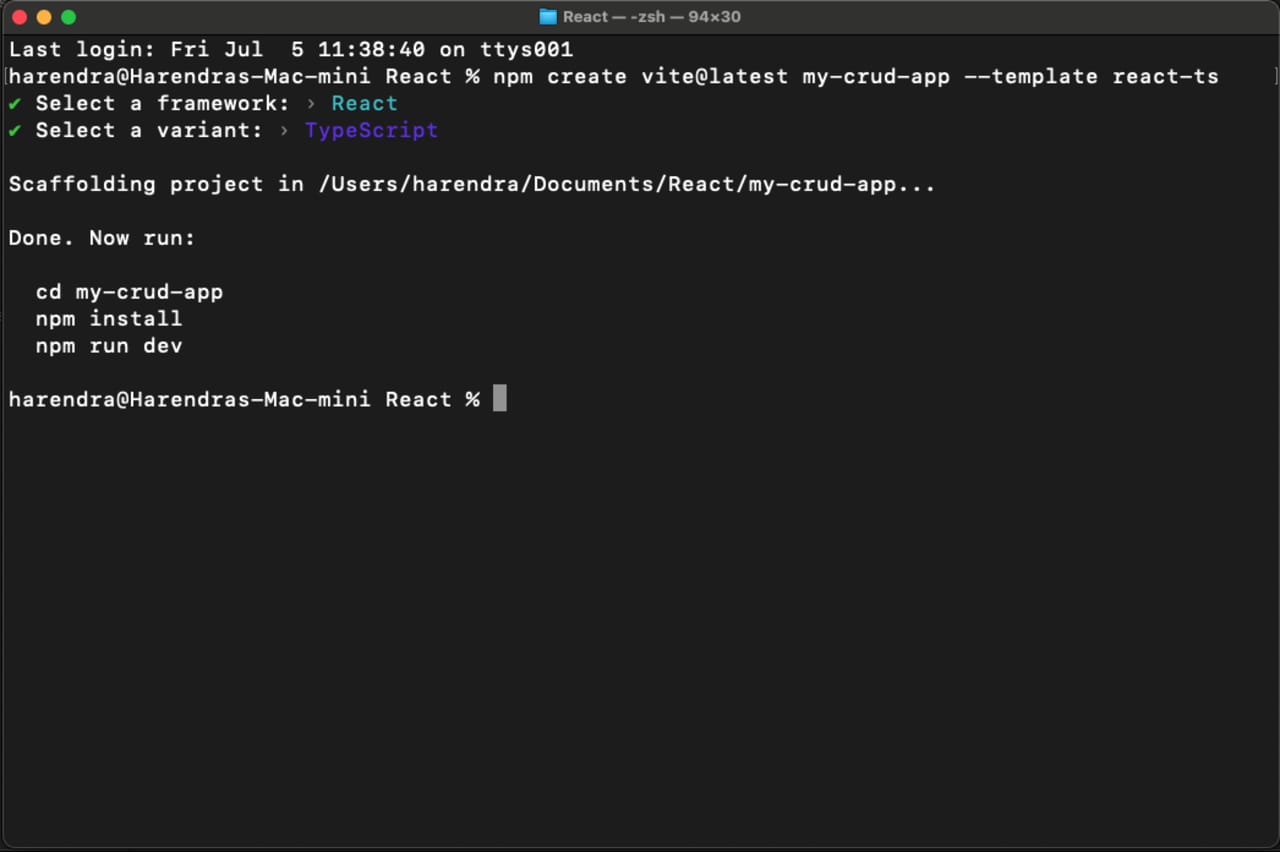
Initialize Vite with React and TypeScript
npm create vite@latest my-crud-app --template react-ts
cd my-crud-app
npm install
Test React App
To test the newly created react app you have to run npm run dev, the open the http://localhost:5173/ in your browser.

Install Tailwind CSS
npm install -D tailwindcss postcss autoprefixer
npx tailwindcss init -p
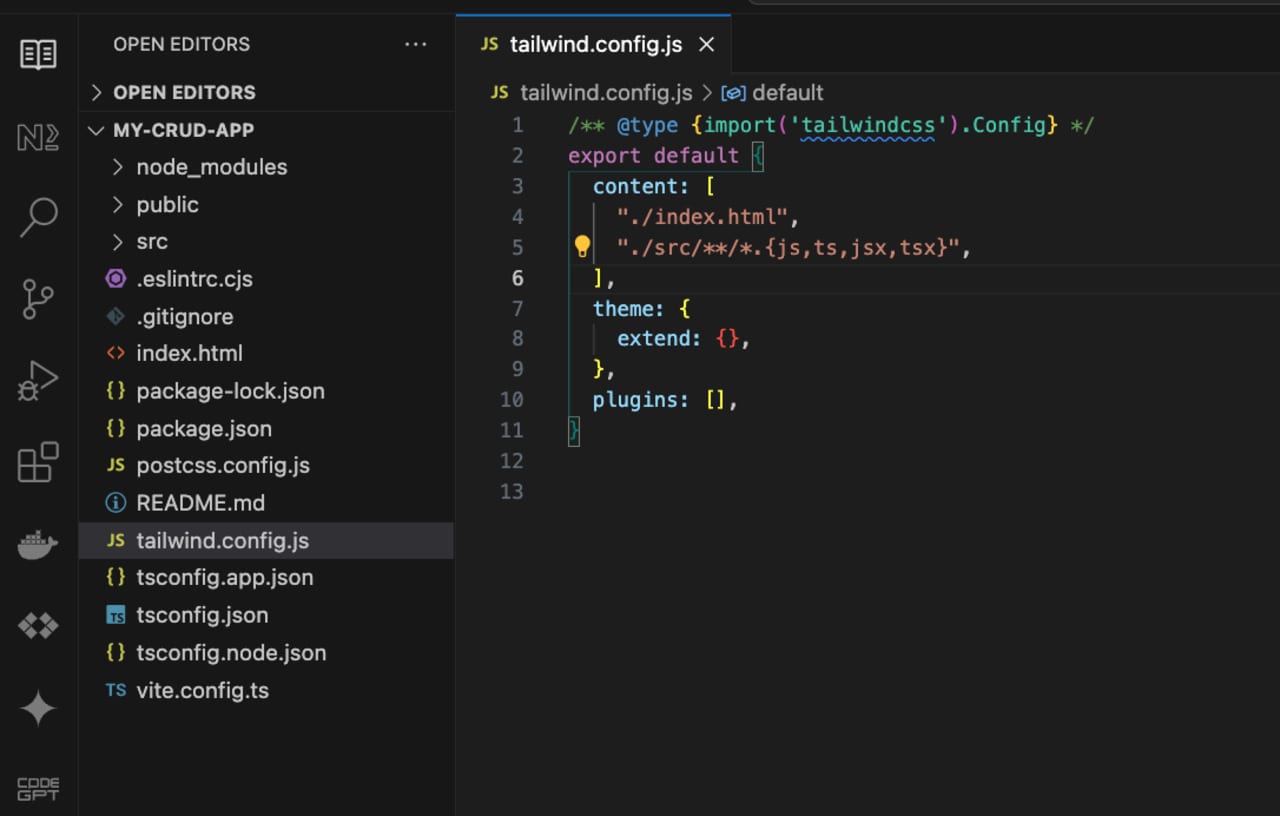
Configure Tailwind CSS
Update tailwind.config.cjs:
/** @type {import('tailwindcss').Config} */
module.exports = {
  content: [
    "./index.html",
    "./src/**/*.{js,ts,jsx,tsx}",
  ],
  theme: {
    extend: {},
  },
  plugins: [],
}
Update src/index.css:
@tailwind base;
@tailwind components;
@tailwind utilities;
2. Install Appwrite SDK
npm install appwrite
3. Set Up Appwrite
- Set up your Appwrite server and create a project.
- Create a database and a collection with the necessary fields.
- Get the endpoint and project ID from your Appwrite project settings.
4. Configure Appwrite in React
Create a file src/appwrite.ts:
import { Client, Databases } from 'appwrite';

const client = new Client();
const databases = new Databases(client);

client
    .setEndpoint('YOUR_APPWRITE_ENDPOINT') // Your API Endpoint
    .setProject('YOUR_PROJECT_ID'); // Your project ID

export { client, databases };
5. Create React Components
Create the Interface for Data
Create a file src/types.ts:
export interface Item {
    $id: string;
    name: string;
    description: string;
}
Create Components
App.tsx:
import React, { useState, useEffect } from 'react';
import { databases } from './appwrite';
import { Item } from './types';

const App: React.FC = () => {
    const [items, setItems] = useState<Item[]>([]);
    const [name, setName] = useState('');
    const [description, setDescription] = useState('');

    const fetchItems = async () => {
        const response = await databases.listDocuments('DATABASE_ID', 'COLLECTION_ID');
        setItems(response.documents);
    };

    const addItem = async () => {
        const item = { name, description };
        await databases.createDocument('DATABASE_ID', 'COLLECTION_ID', 'unique()', item);
        fetchItems();
        setName('');
        setDescription('');
    };

    const deleteItem = async (id: string) => {
        await databases.deleteDocument('DATABASE_ID', 'COLLECTION_ID', id);
        fetchItems();
    };

    useEffect(() => {
        fetchItems();
    }, []);

    return (
        <div className="container mx-auto p-4">
            <h1 className="text-2xl font-bold mb-4">CRUD Application</h1>
            <div className="mb-4">
                <input
                    className="border p-2 mr-2"
                    type="text"
                    value={name}
                    onChange={(e) => setName(e.target.value)}
                    placeholder="Name"
                />
                <input
                    className="border p-2 mr-2"
                    type="text"
                    value={description}
                    onChange={(e) => setDescription(e.target.value)}
                    placeholder="Description"
                />
                <button
                    className="bg-blue-500 text-white p-2"
                    onClick={addItem}
                >
                    Add Item
                </button>
            </div>
            <ul>
                {items.map((item) => (
                    <li key={item.$id} className="flex justify-between items-center mb-2">
                        <div>
                            <strong>{item.name}</strong>: {item.description}
                        </div>
                        <button
                            className="bg-red-500 text-white p-2"
                            onClick={() => deleteItem(item.$id)}
                        >
                            Delete
                        </button>
                    </li>
                ))}
            </ul>
        </div>
    );
};

export default App;
6. Run the Application
npm run dev

This sets up a basic CRUD application with Vite, React, TypeScript, Tailwind CSS, and Appwrite. You can extend the functionality further by adding update capabilities, form validations, and more advanced error handling.


