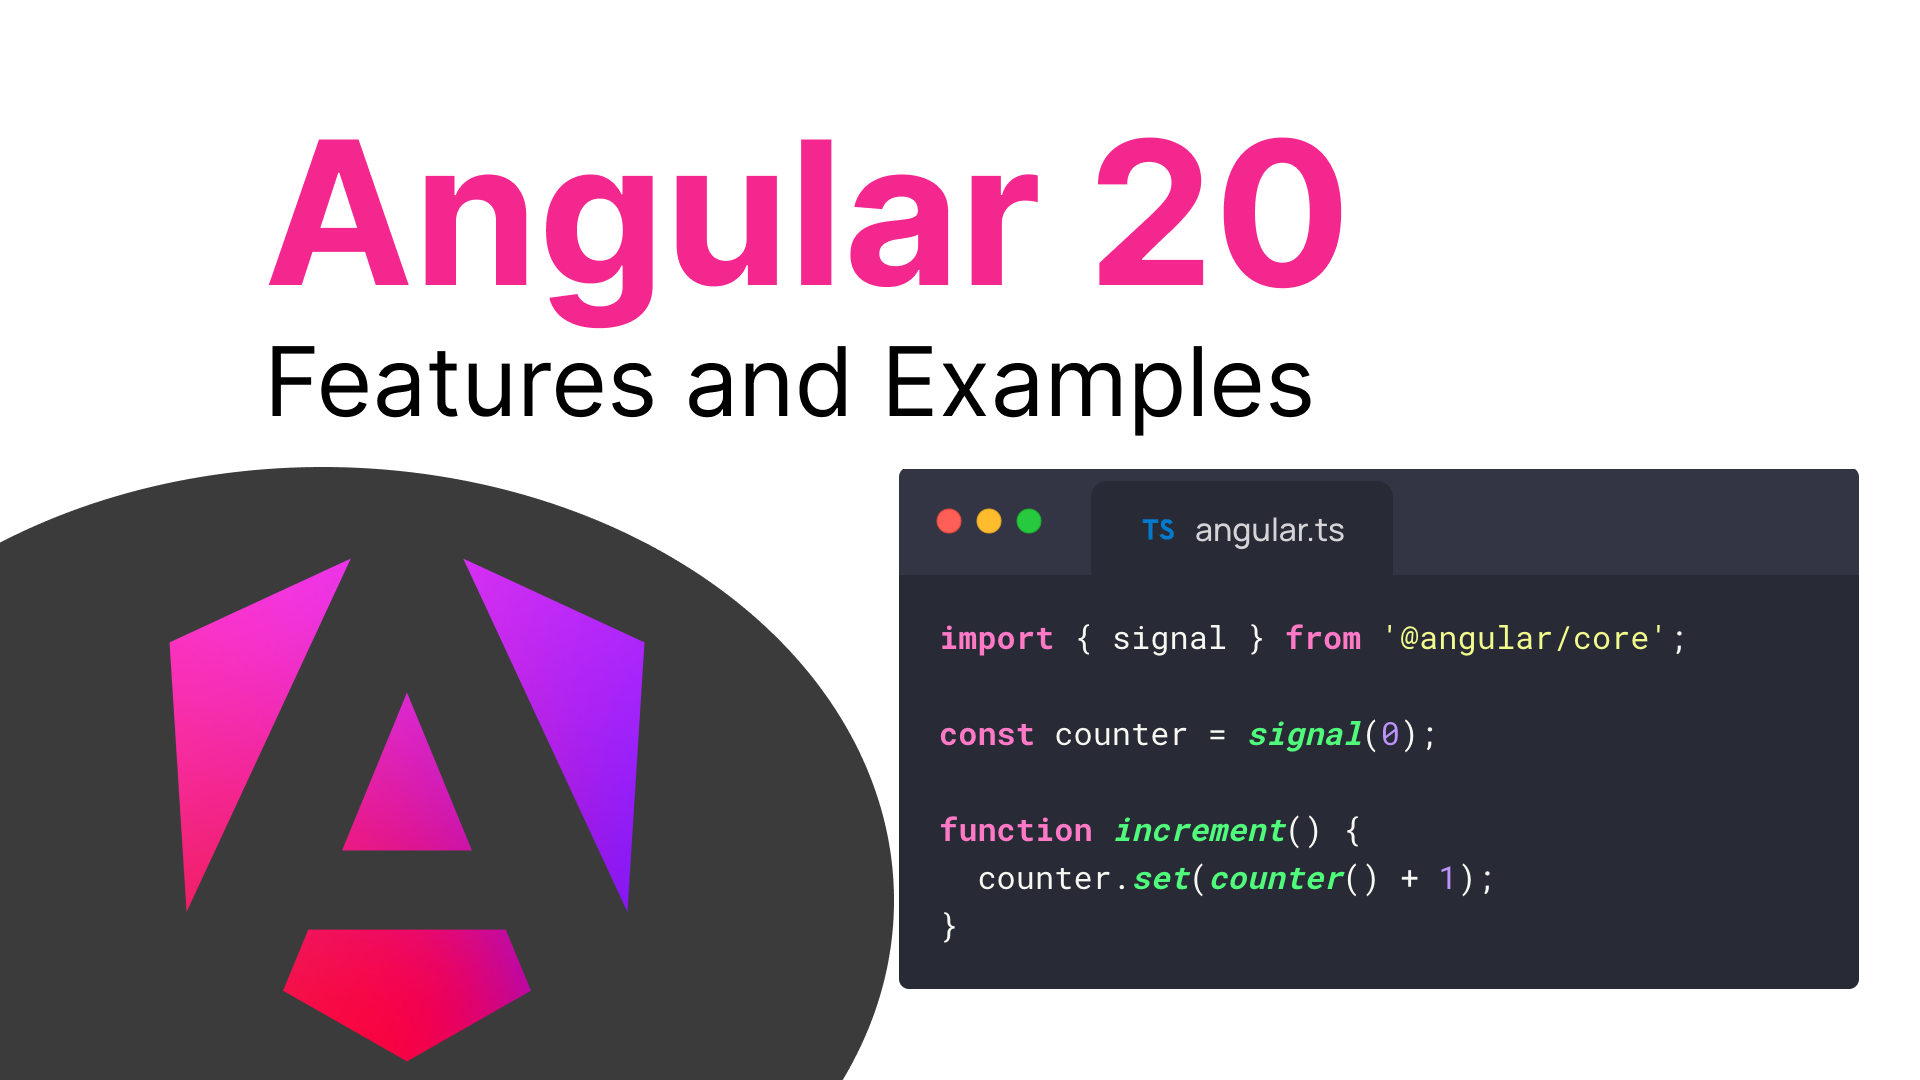
How to Upgrade to Angular 20?
You can upgrade your Angular app to version 20 with step-by-step instructions, code examples, and tips for handling breaking changes.
With the release of Angular 20 comes incredible features, such as a stable Signals API and zoneless change detection. However, upgrading is not as simple as it seems and requires some planning. Here is a step-by-step guide with codes and other common mistakes that ensures an easy upgrade.
Prerequisites
- Node.js v20: Angular 20 drops support for Node 18. Verify with
node -v. - TypeScript 5.8: Update via
npm install typescript@5.8. - Backup Your Project: Use Git to commit changes before proceeding.
Step 1: Update Angular CLI
Update the global CLI to v20:
npm uninstall -g @angular/cli
npm install -g @angular/cli@20
Verify with ng version.
Step 2: Upgrade Project Dependencies
Run the Angular update tool:
ng update @angular/core@20 @angular/cli@20
This updates package.json and applies migrations for:
- Replacing
TestBed.get()withTestBed.inject()[6]. - Migrating
ngIf,ngFor, andngSwitchto the new control flow syntax [6].
Example Migration:
<!-- Before -->
<div *ngIf="user">{{ user.name }}</div>

<!-- After -->
@if (user) {
  <div>{{ user.name }}</div>
}
Step 3: Resolve Breaking Changes
Deprecated Structural Directives
Angular 20 deprecates ngIf, ngFor, and ngSwitch. Use the control flow syntax:
@for (item of items; track item.id) {
  <div>{{ item.name }}</div>
}
TestBed.get() Removal
Replace deprecated calls:
// Before
const service = TestBed.get(UserService);

// After
const service = TestBed.inject(UserService);
Forms API Updates
New methods like markAllAsDirty() are available:
this.userForm.markAllAsDirty();
Step 4: Enable Experimental Features (Optional)
Zoneless Change Detection
Add to app.config.ts:
import { provideZonelessChangeDetection } from '@angular/core';

export const appConfig: ApplicationConfig = {
  providers: [provideZonelessChangeDetection()]
};
Note: Manual change detection may be required for third-party libraries [1][5].
Signal-Based Forms (Developer Preview)
Experimental forms API using signals:
const name = signal('');
const isValid = computed(() => name().length > 2);
Step 5: Update Browserslist Configuration
Angular 20 targets browsers released in the last 30 months. Update .browserslistrc:
Chrome >= 107
Firefox >= 104
Safari >= 16
Step 6: Test and Optimize
- Run Tests: Angular 20 deprecates Karma. Migrate to Web Test Runner or Vitest [1][5].
- Check Bundle Size: Use
ng build --stats-jsonto analyze withwebpack-bundle-analyzer. - Verify SSR: Test server-side rendering with
ng serve --ssr.
Post-Upgrade Checklist
- Update Angular Material/Material UI if used.
- Ensure third-party libraries (e.g., NgRx, RxJS) are compatible.
Enable stricter TypeScript checks in tsconfig.json:
{
  "compilerOptions": {
    "strict": true
  }
}
Troubleshooting Common Issues
- "Cannot find module" Errors: Delete
node_modulesandpackage-lock.json, then runnpm install. - Zone.js Warnings: Add
ngZone: 'noop'toprovideZonelessChangeDetection()if using zoneless mode [5]. - Legacy Browser Support: Adjust
.browserslistrcif targeting older browsers (may increase bundle size).
Conclusion
Upgrading to Angular 20 unlocks performance gains and modern reactivity patterns. By following these steps, you’ll mitigate breaking changes and leverage features like Signals and zoneless apps. For large teams, consider incremental adoption of experimental APIs to minimize disruption.
Need Help?
- Use
ng update --helpfor CLI options. - Refer to Angular’s official update guide .
