Self-Hosting AI Models
Deploy powerful AI models on your own hardware with complete privacy, zero cloud dependencies, and full control over your data.

Hello Developers, In today's article, I will talk about how you can self-host the AI models on your machine and start using them for free. In recent days, I was looking for a tool to convert my local system into an AI server, and I did find something amazing. I will talk in detail about how you can start using it, make your life easier, do more experiments with AI, and much more.
Why Self-Hosting?
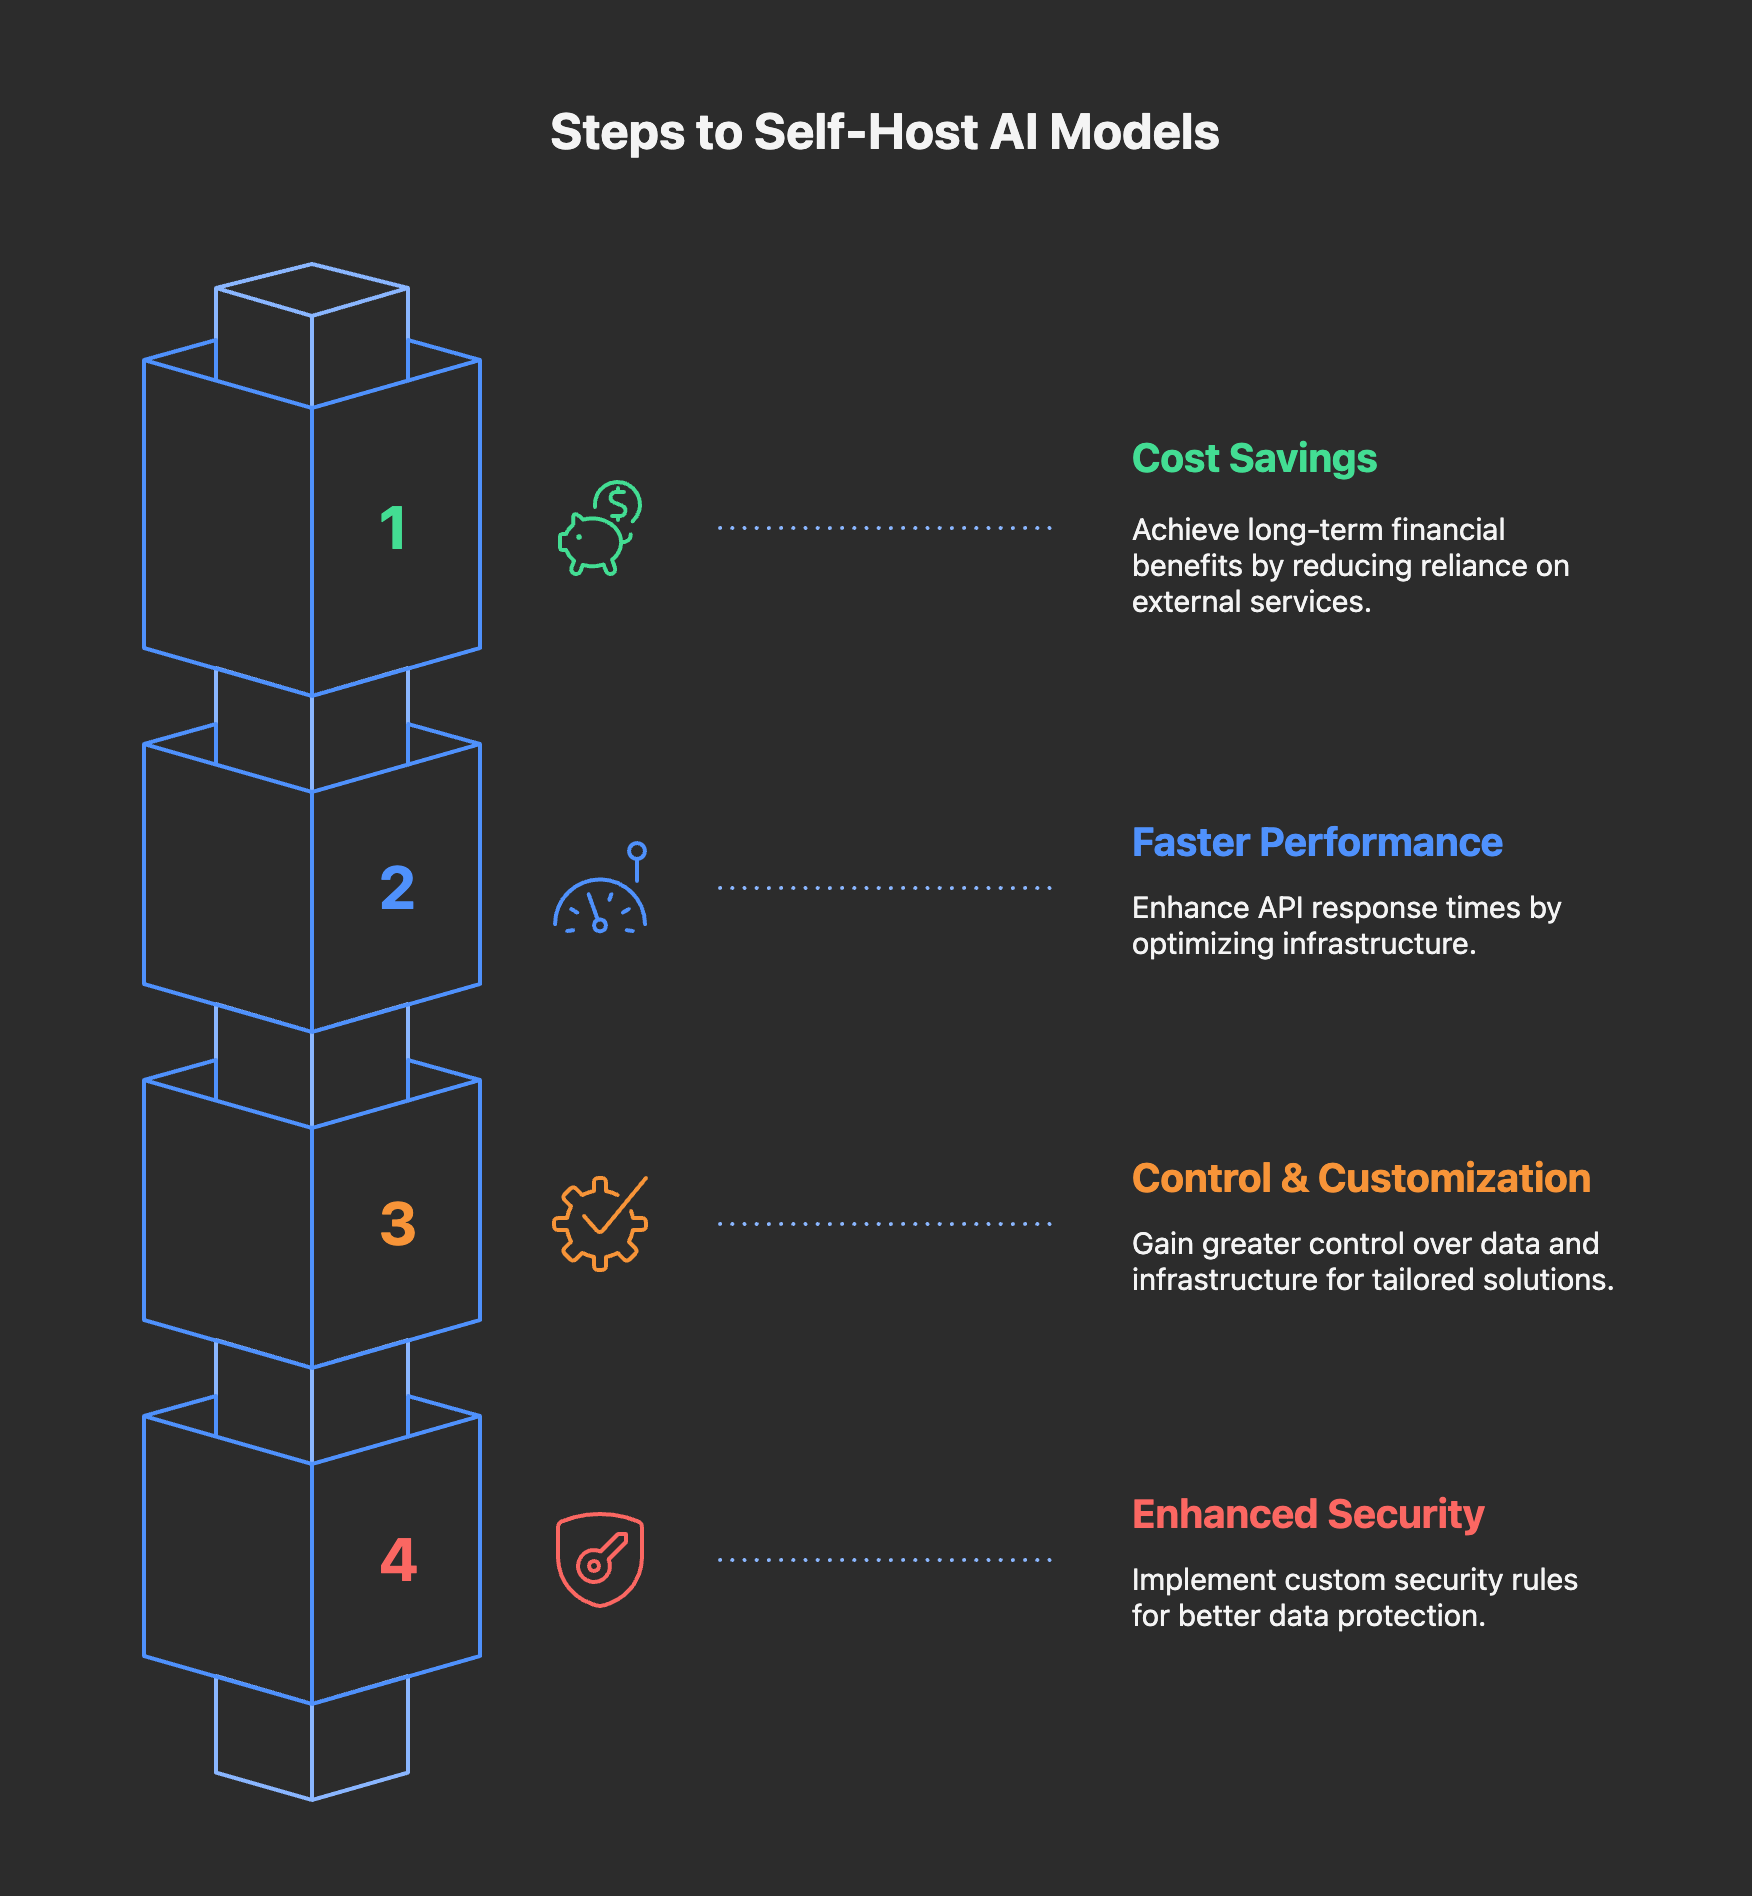
This is the first question that came to mind when we decided to use the self-hosted AI. Here are some key points that I consider before self-hosting AI models:
- Cost Savings: Self-hosted AI may be costly initially, but in the long term, it can save a lot of money.
- Faster Performance: By providing the proper infrastructure, you can reduce the latency for your APIs.
- Control and Customization: Self-hosted AI provides better control over the infrastructure and data to build custom solutions.
- Security: It provides more security by customizing the rules and better control over data.
How to Self-Host AI?
Now this is the main question: how to self-host AI on your local system.
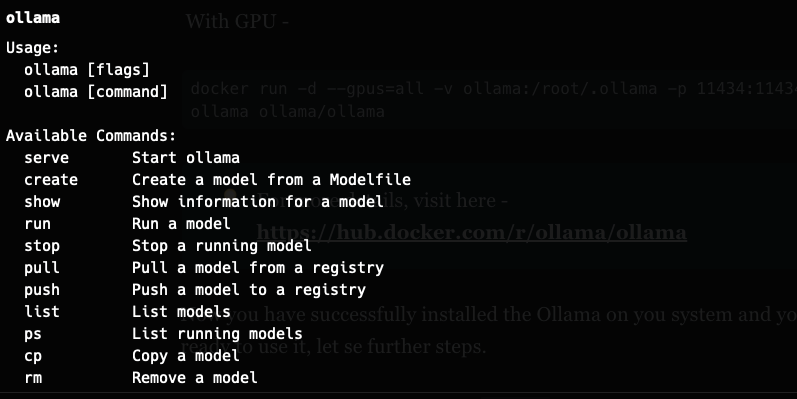
I am using the tools called OLLAMA to self-host the AI, and believe me, it is super easy to start using it. You just need to download the OLLAMA on your local system by the executable file of Docker, and boom, you are ready to use your brand new self-hosted AI server. Let me show you how to do that simply -
- Visit their site to download the Ollama—https://ollama.com/download.
- To install it with Docker, use the following instructions:
CPU only -
docker run -d -v ollama:/root/.ollama -p 11434:11434 --name ollama ollama/ollama
With GPU -
docker run -d --gpus=all -v ollama:/root/.ollama -p 11434:11434 --name ollama ollama/ollama
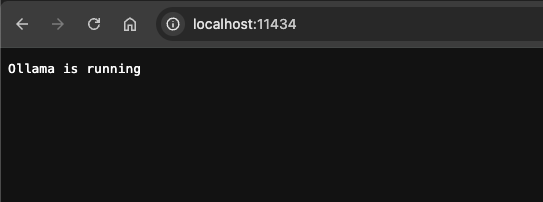
Now you have successfully installed the Ollama on your system, and you are almost ready to use it; let's see further steps.
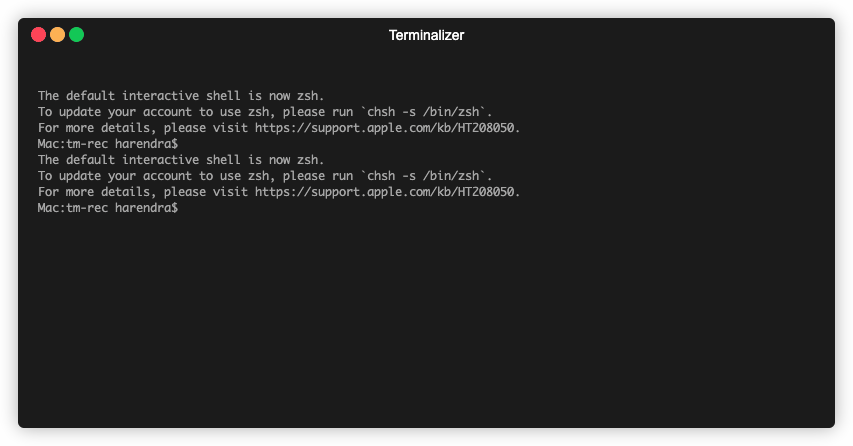
Now you can verify it via running theollama command from your terminal -
or by visiting to localhost:11434
Download your favorite model
Ollama provides the privilege to download and use your favorite AI model and start using it. To download model you have to visit their models repository and choose the one which you want to run -
For example, I will download `qwen3:0.6b` run the following command to pull and start using it
ollama run qwen3:0.6bFirst time it will download the model (it will tak while); afterwards, it will be avaliable on your system you can use any time -
Use ollama list to show all of your downloaded models.
Once your download is completed, you can start using it from your terminal -

Ollama API

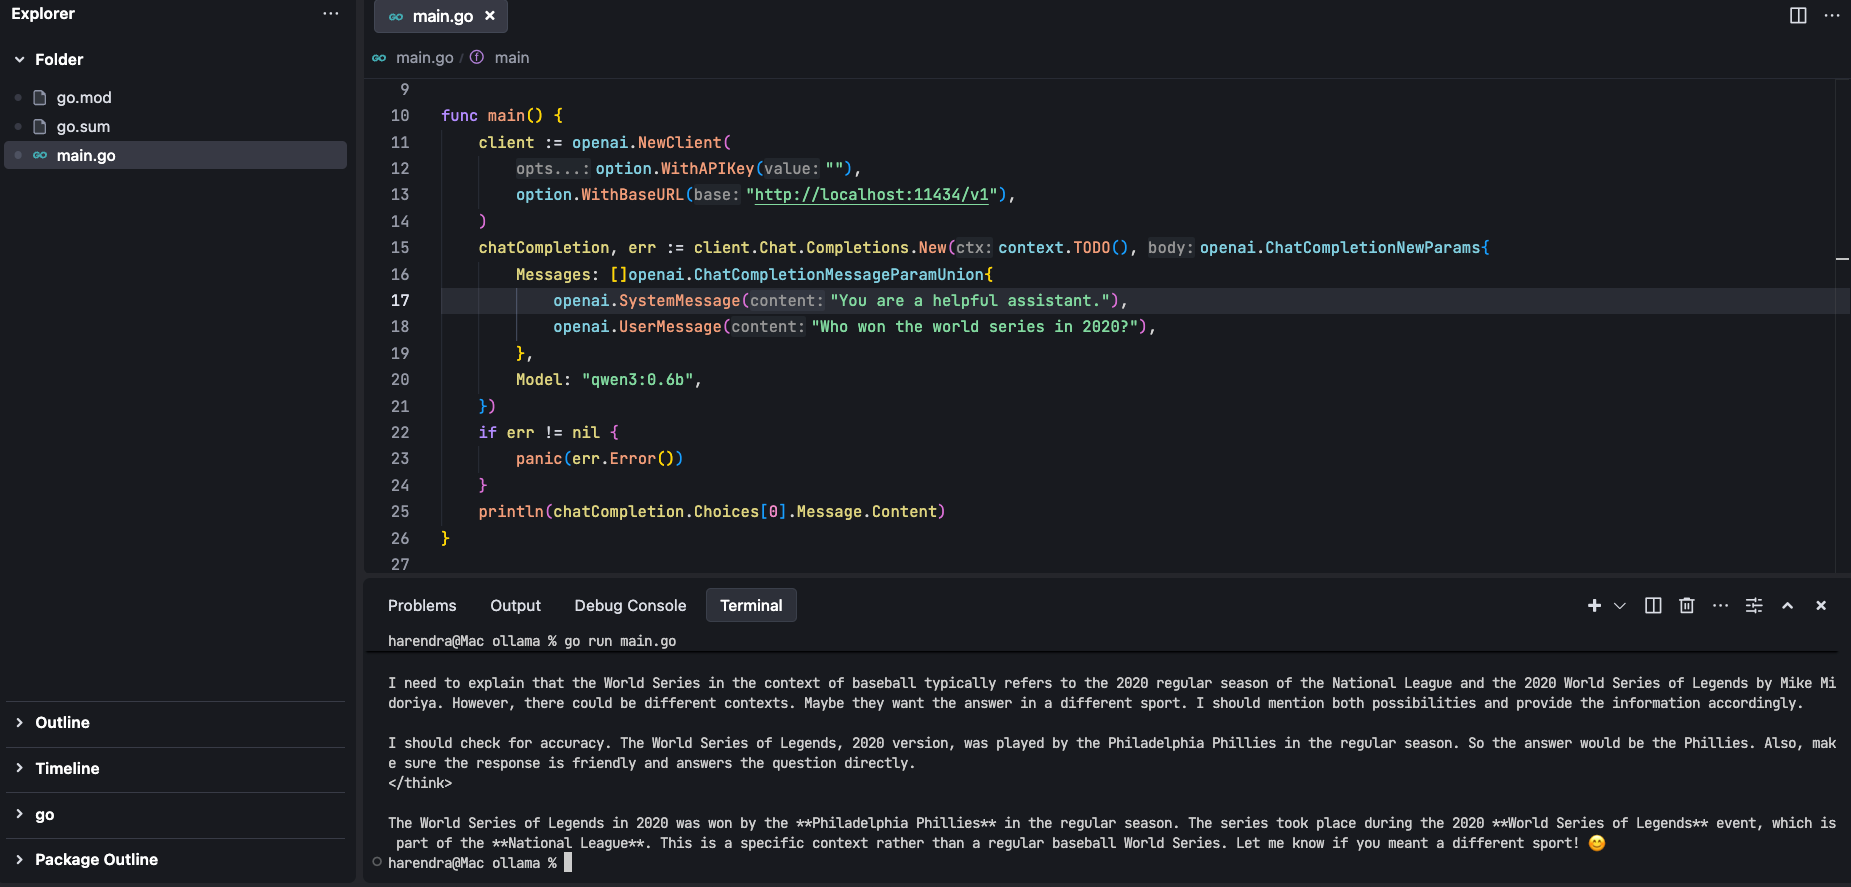
We have seen that we have successfully installed Ollama in our system, but we are not supposed to use it via terminal. We need to integrate it into our code; here, OLLAMA provides open-ai sdk support to start using it just by configuring the right endpoint and model. Let's understand it with example code. I will give golang code example:
package main

import (
	"context"

	"github.com/openai/openai-go"
	"github.com/openai/openai-go/option"
)

func main() {
	client := openai.NewClient(
		option.WithAPIKey(""),
		option.WithBaseURL("http://localhost:11434/v1"),
	)
	chatCompletion, err := client.Chat.Completions.New(context.TODO(), openai.ChatCompletionNewParams{
		Messages: []openai.ChatCompletionMessageParamUnion{
			openai.SystemMessage("You are a helpful assistant."),
			openai.UserMessage("Who won the world series in 2020?"),
		},
		Model: "qwen3:0.6b",
	})
	if err != nil {
		panic(err.Error())
	}
	println(chatCompletion.Choices[0].Message.Content)
}
output:
you can also use the curl request to make sure api's are working fine -
curl http://localhost:11434/v1/chat/completions \
    -H "Content-Type: application/json" \
    -d '{
        "model": "qwen3:0.6b",
        "messages": [
            {
                "role": "system",
                "content": "You are a helpful assistant."
            },
            {
                "role": "user",
                "content": "Hello!"
            }
        ]
    }'
Final words
I have gone through almost every important step required before getting started with self-hosted AI. I will say that if you have a long-term vision to use AI at scale, then it will be very useful for you to self-host the AI models. I personally focus more on using the open-source technologies. If you want more details about it, please feel free to connect with me at harendraverma21@gmail.com, or you can leave your comment here; I will respond ASAP.


